前回は Raspberry Pi 4 をヘッドレスで(専用の外部ディスプレイやキーボードを使わずに)セットアップする方法を説明しました。
そうは言ってもGUI環境が欲しいという方のために、今回はリモートデスクトップで Raspberry Pi に接続する方法を紹介します。
Raspberry Pi のセットアップが終わっていない人は、こちらの記事を参考にセットアップを済ませておいてください。
Contents
Raspberry Pi 側での作業
はじめに、 Raspberry Pi側の設定を行います。
Raspberry Pi 側で行う設定は以下の3点です。
- VNC を有効にする
- ブート方法の変更
- 画面解像度の変更
Raspberry Pi 設定ツールを起動する
ssh コマンドで Raspberry Pi にログインし、raspi-config コマンドで Raspberry Pi 設定ツールを起動します。
sudo raspi-config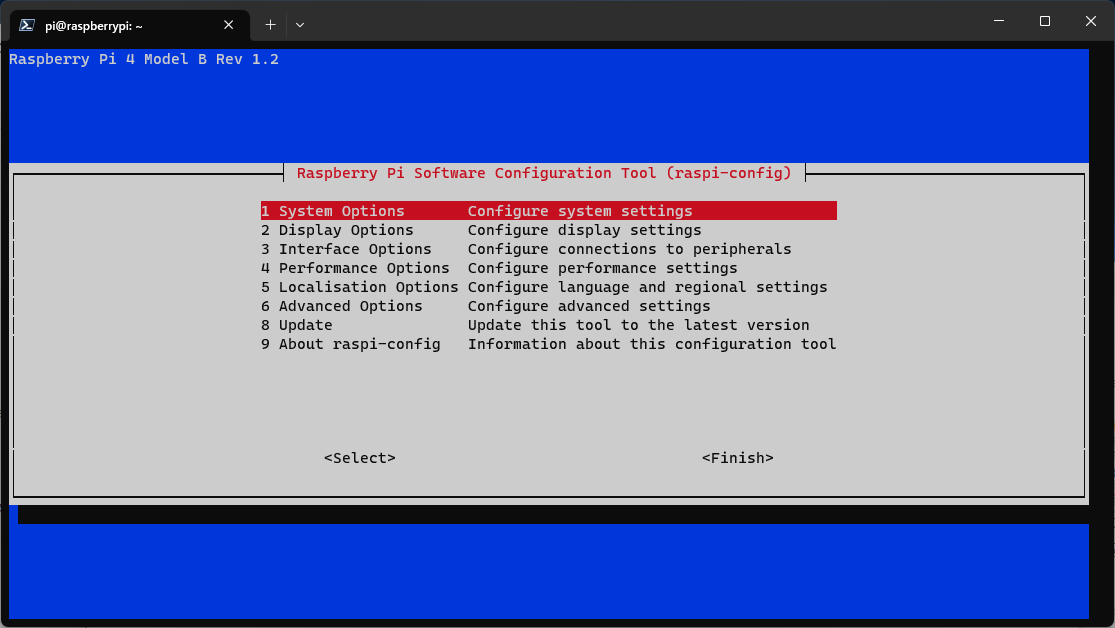
Raspberry Pi 設定ツール画面
マウスは使えないのでカーソルキーで設定していきます。
VNCを有効にする
「3 Interface Options」を選択
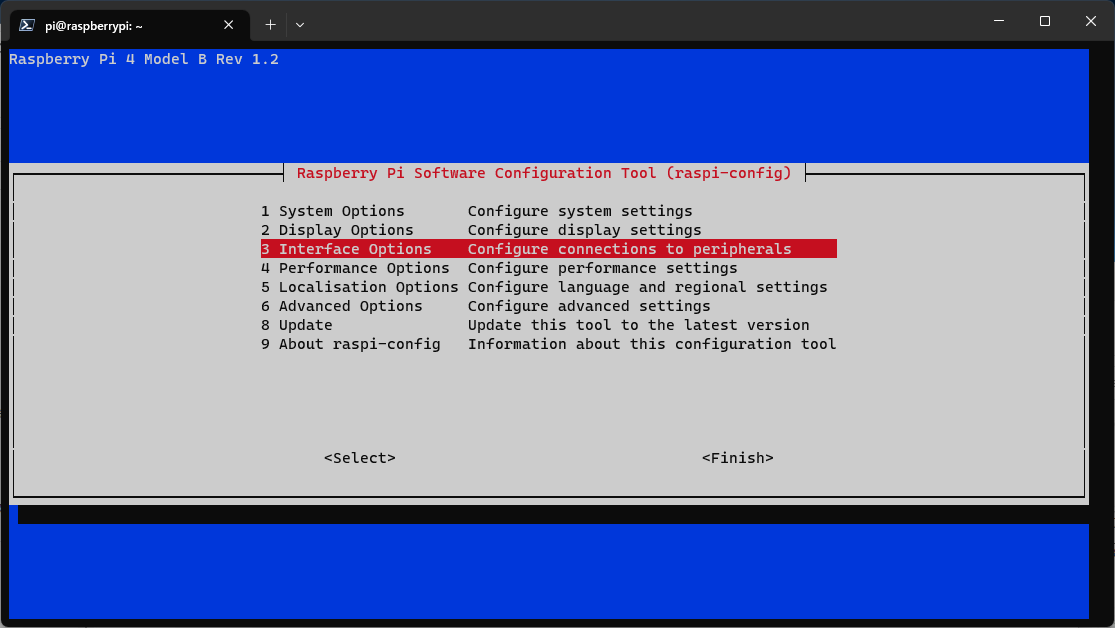
「3 Interface Options」を選択
「I3 VNC」を選択
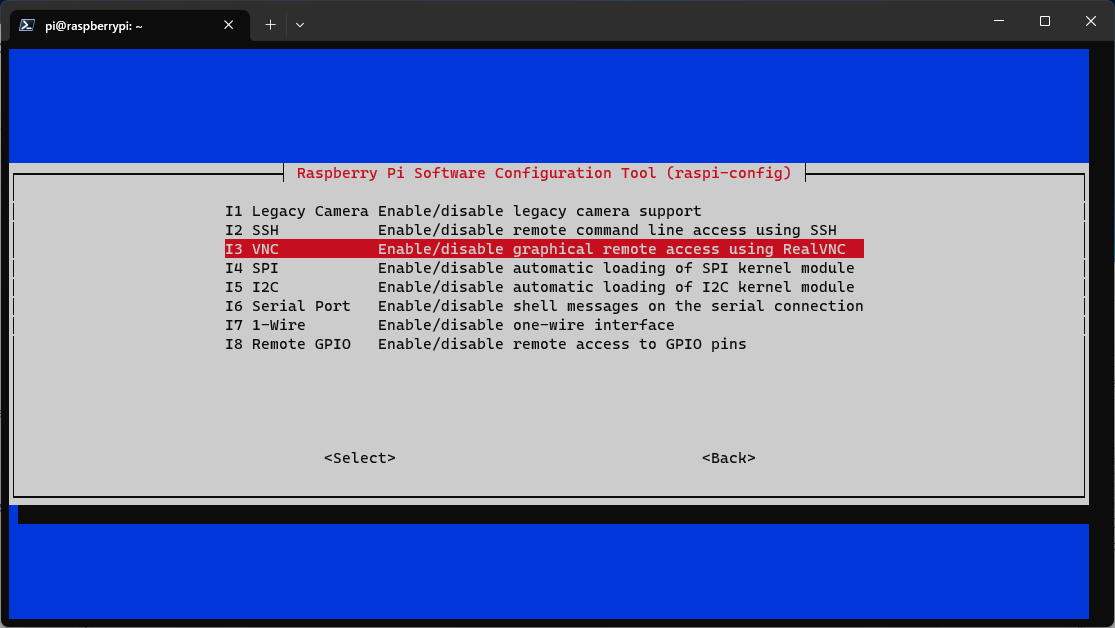
「I3 VNC」を選択
「Yes」を選択
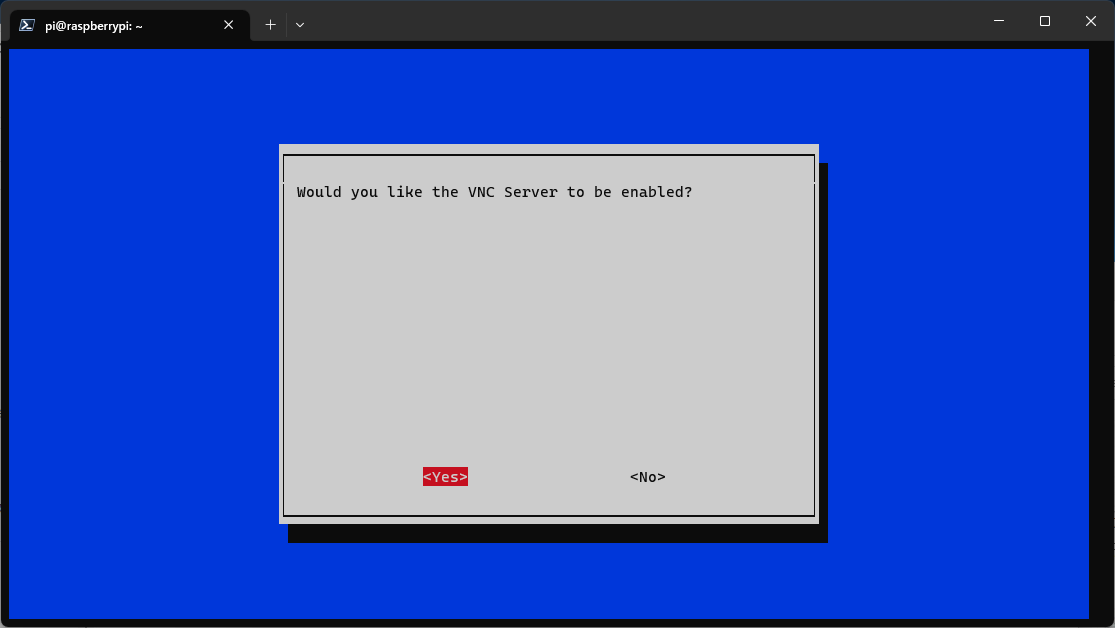
「Yes」を選択
「Ok」を選択
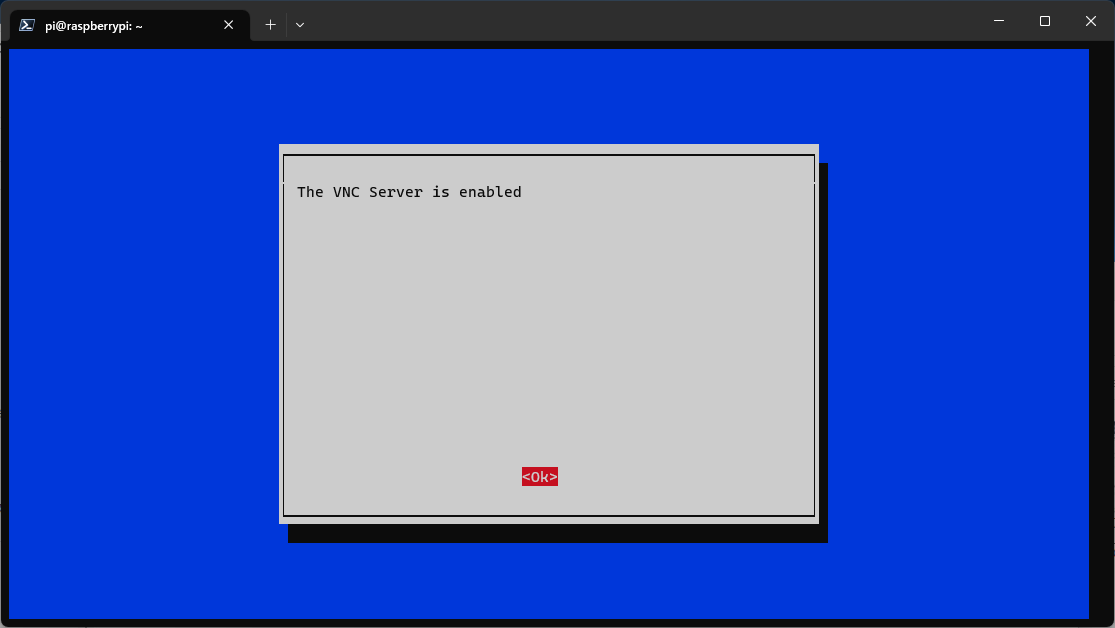
「ok」を選択
ブート方法の変更
「1 System Options」を選択

「1 System Options」を選択
「S5 Boot / Auto Login」を選択
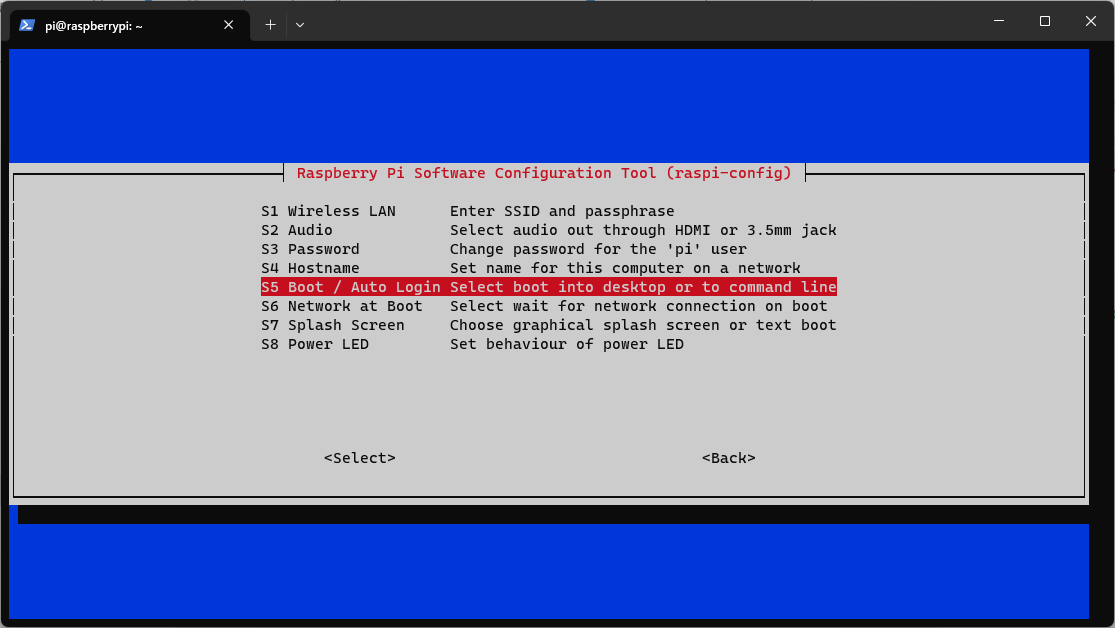
「S5 Boot / Auto Login」を選択
「B3 Desktop」を選択
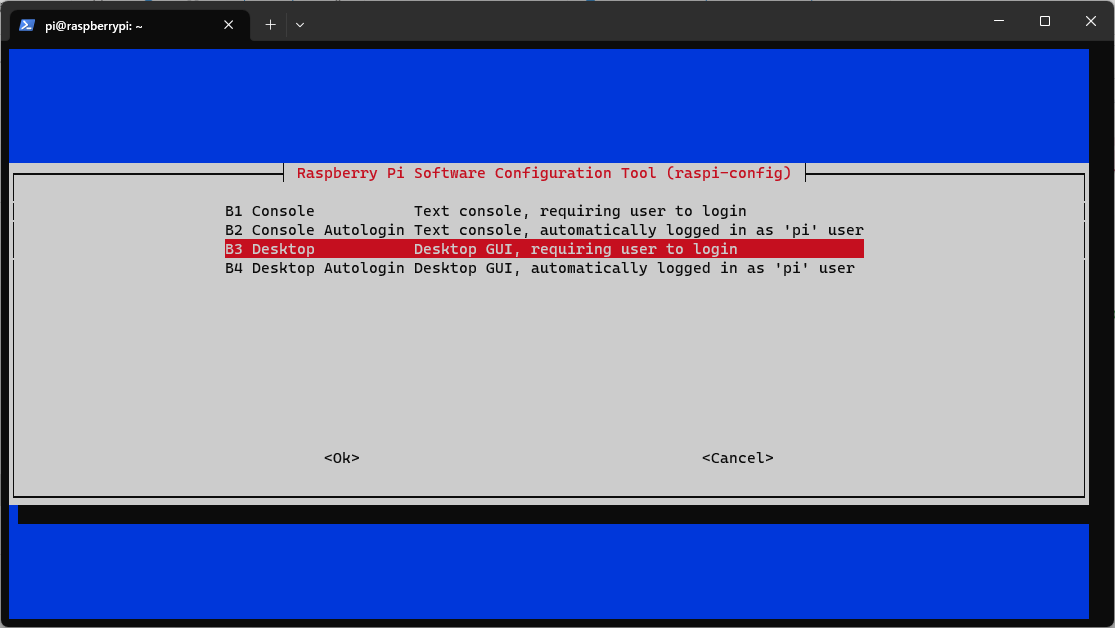
「B3 Desktop」を選択
画面解像度の変更
VNCで接続したときの画面解像度を変更します。
「2 Display Options」を選択
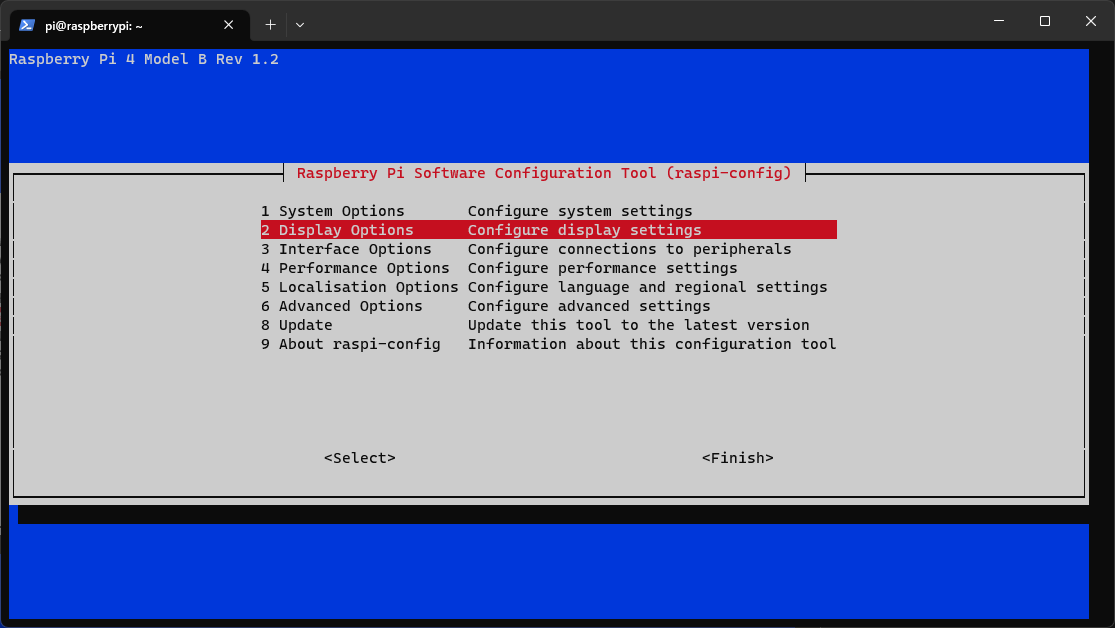
「2 Display Options」を選択
「D5 VNC Resolution」を選択
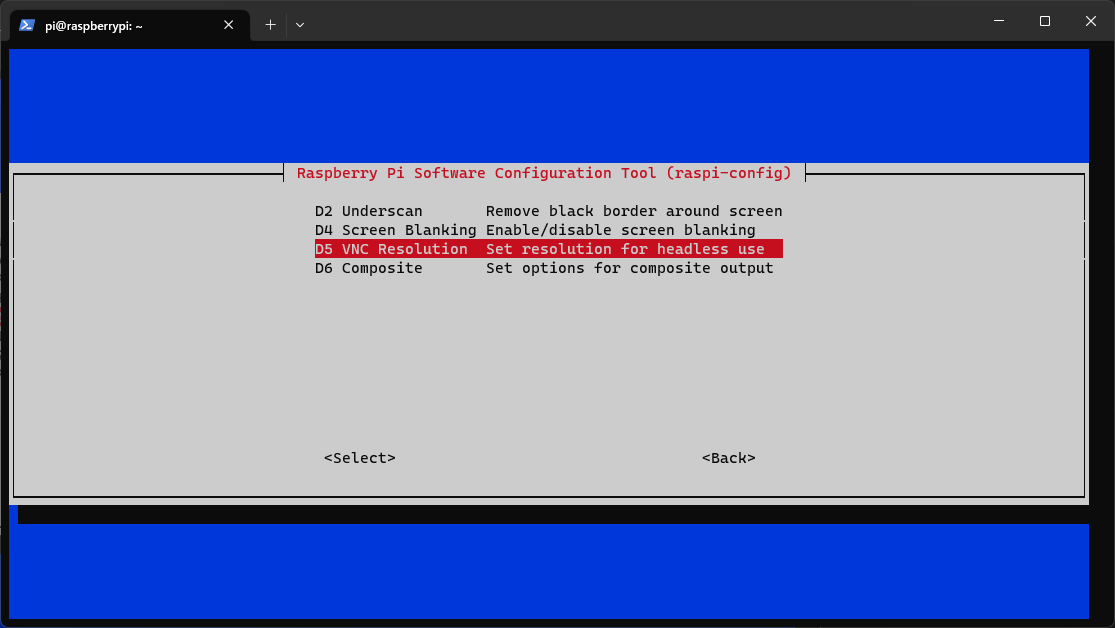
「D5 VNC Resolution」を選択
環境に合わせて画面解像度を選択します。
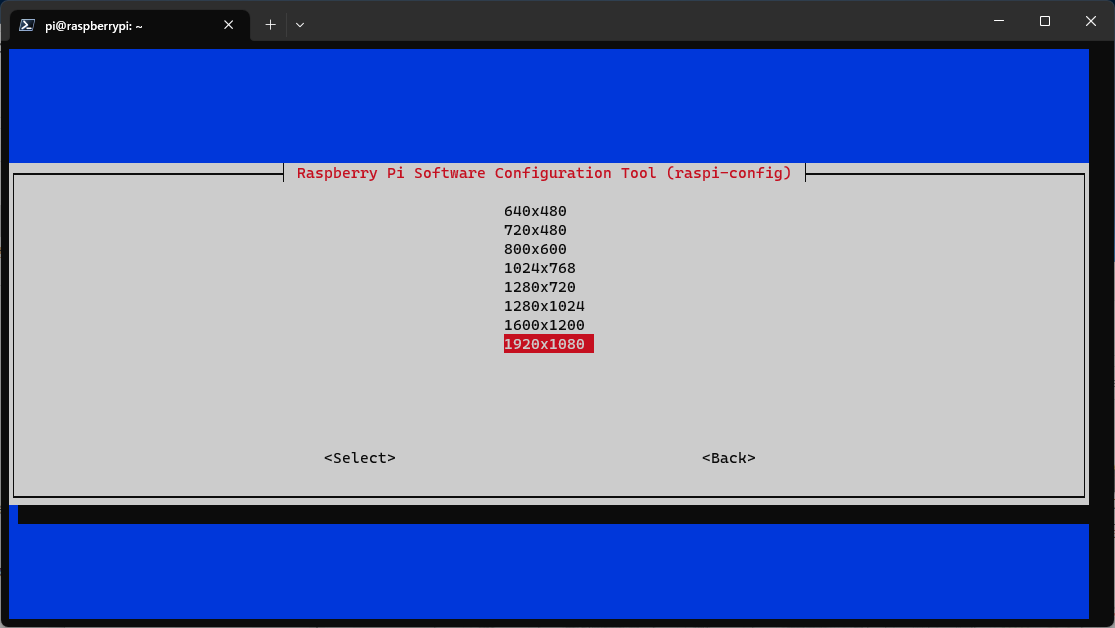
解像度を選択
設定終了と再起動
Finishを選択
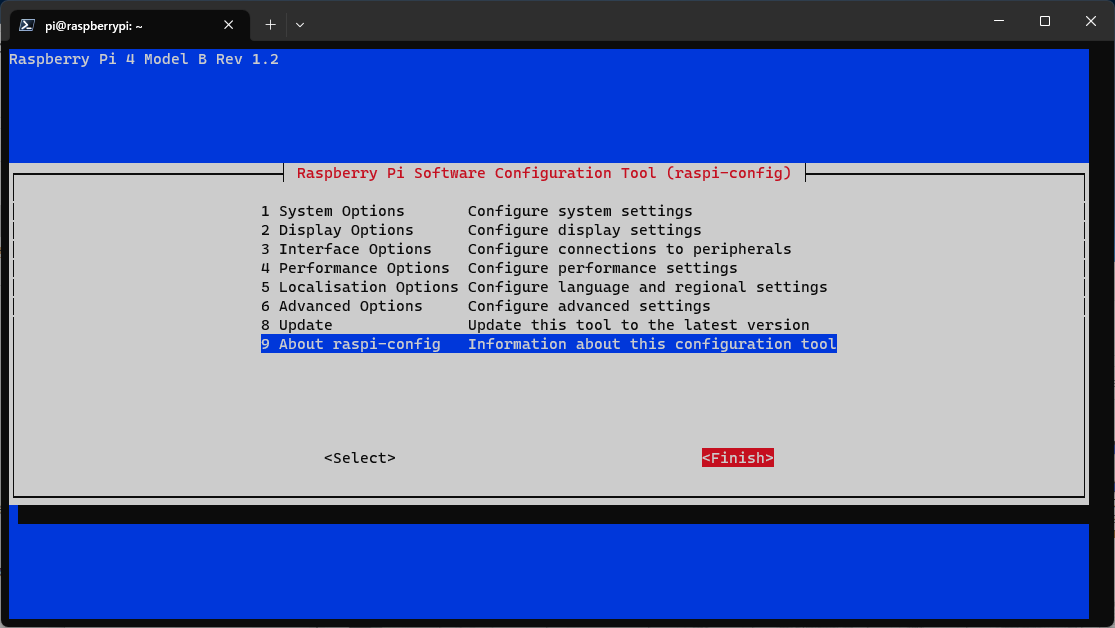
Finishを選択
再起動して良いか聞かれるためYesを選択します。

Raspberry Pi が再起動するためしばらく待ちます。
ホスト側での作業
VNCviewerをインストール
公式サイトから「Real VNC Viewer」をインストールしておきます。
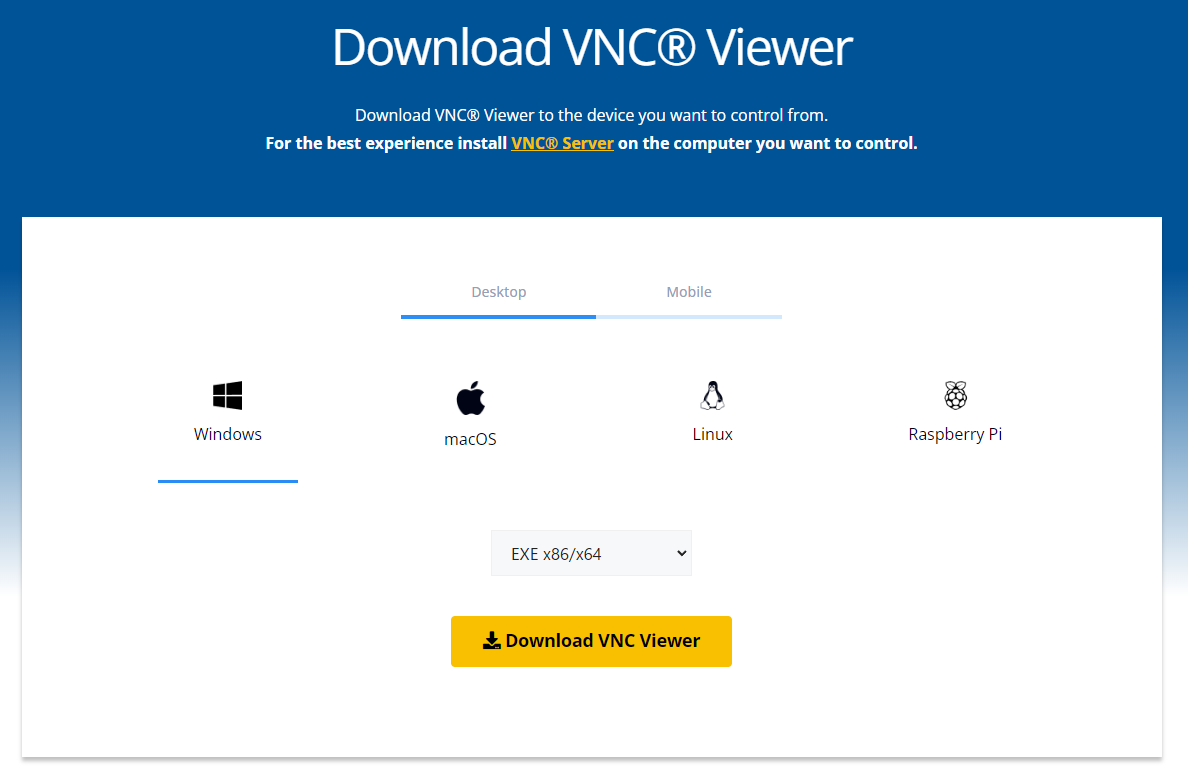
RealVNCをダウンロード
接続設定
インストールした「Real VNC Viewer」を起動し、「File」 -> 「New connection」から、新しい接続設定を行います。
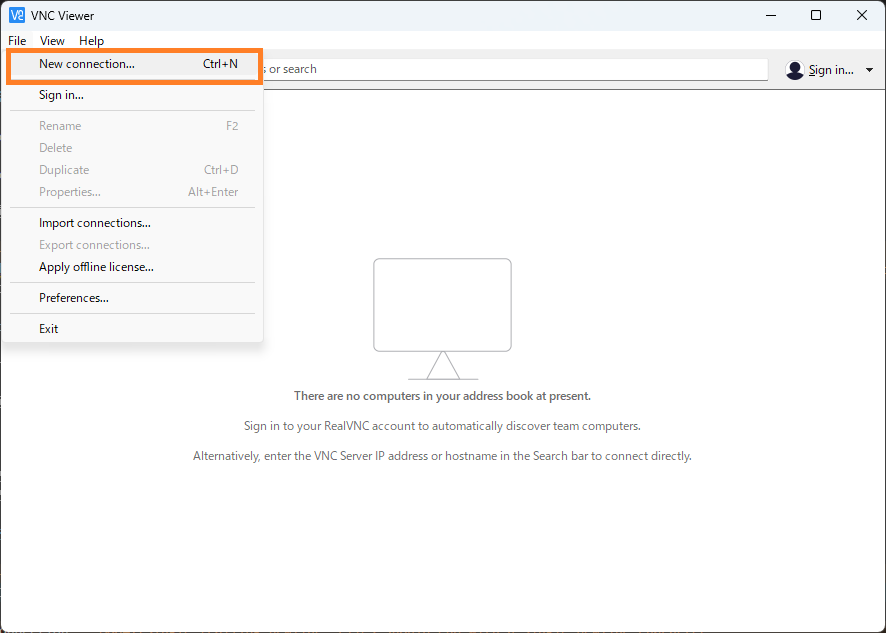
RealVNC Viewer
以下のとおり設定します。
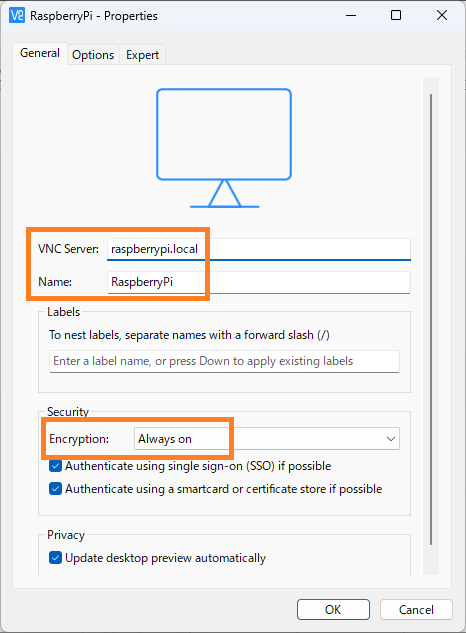
RealVNC Viewer Setting
- VNC Server : ラズベリーパイのIPアドレスまたはホスト名
- Name : わかりやすい名前
- Encryption : Always On
設定したら接続します。

このような警告が出ますが「Continue」を選択

接続の認証が必要ですので、ユーザー名(pi)とパスワード(raspberry)を入力します。

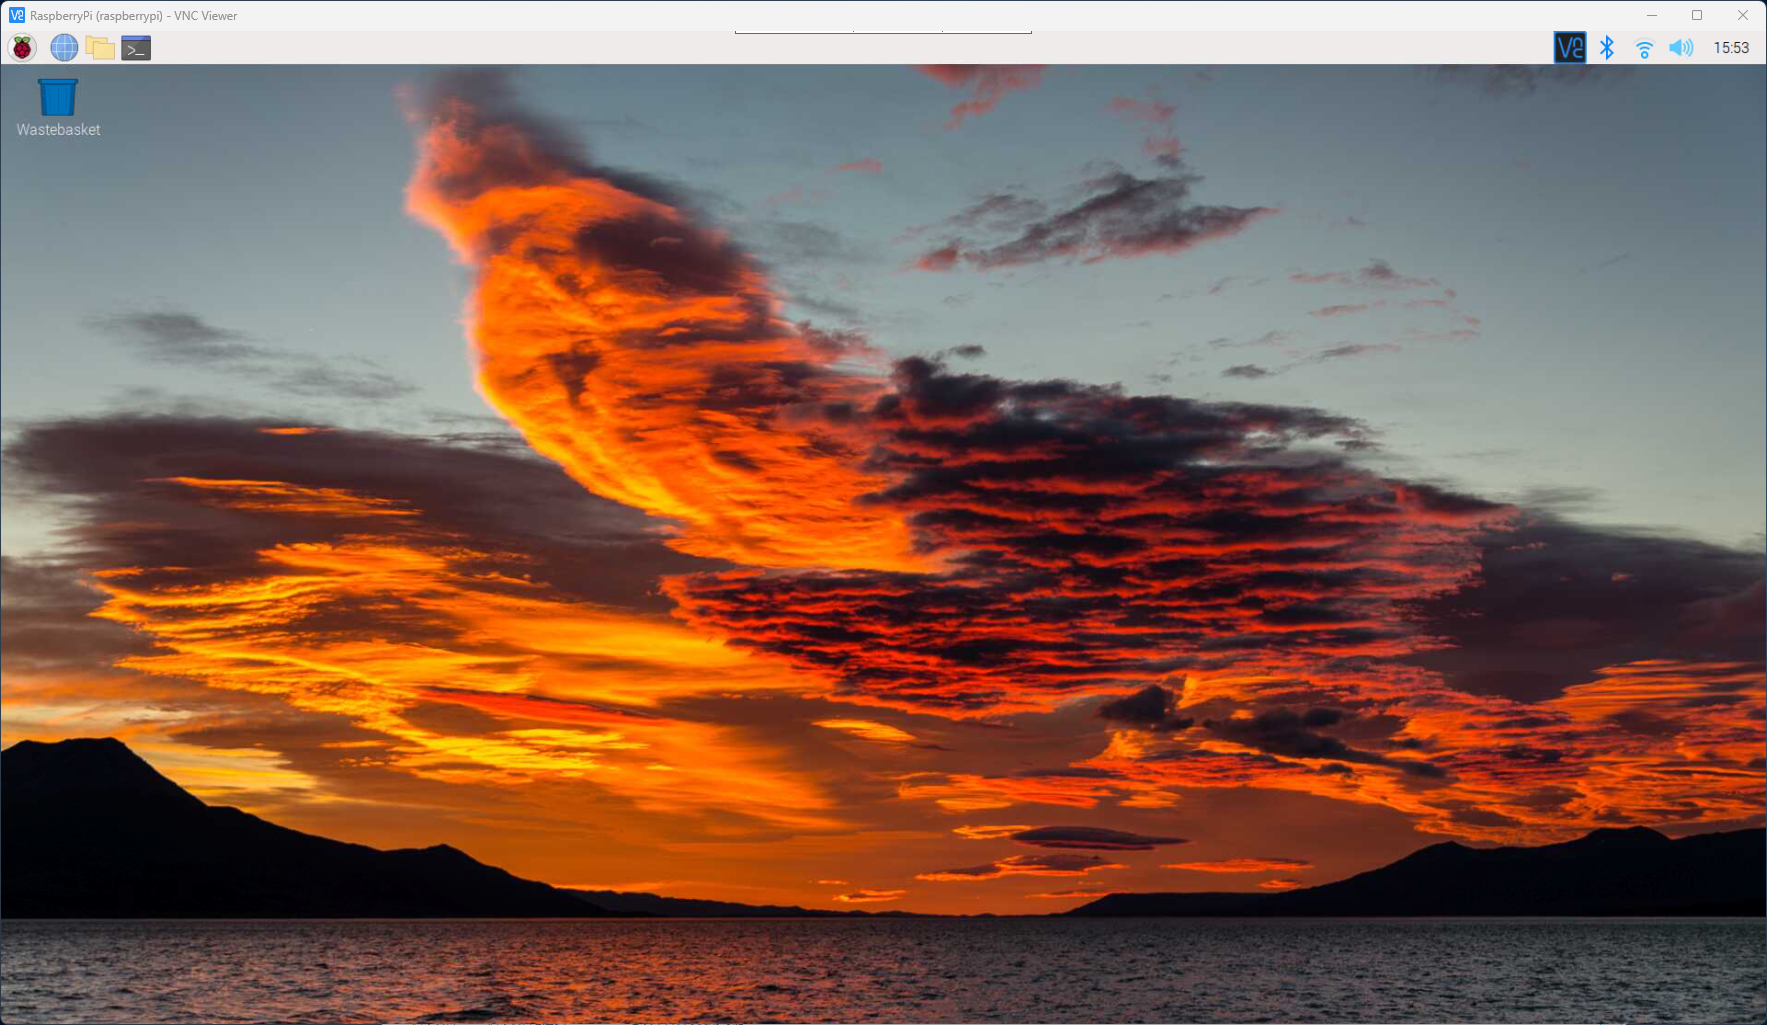
接続されました!
今度はOSにログインするためにユーザー名(pi)とパスワード(raspberry)を入力します。

ログインしてデスクトップが表示されました!
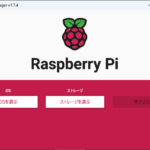
もし、RealVNCで接続しようとしたときに、以下の画面が表示された場合、Raspverry Pi 側のブート設定が「Console」になっている可能性があります。
こちらを参考にブート設定を「Desktop」に変更してみてください。


コメントを残す